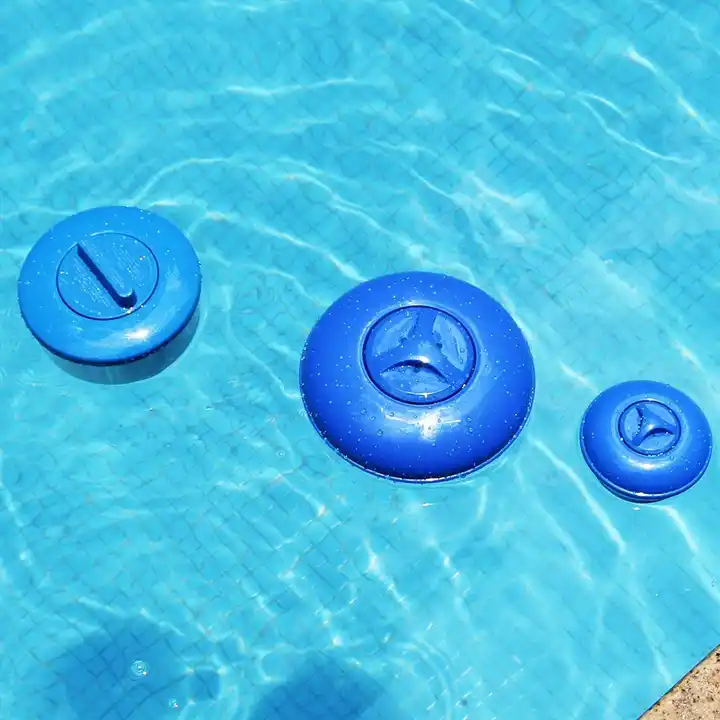
After some time of use, it’s inevitable that pool floaters will experience issues like air leaks or physical damage. At this point, it’s up to us to handle the repairs. This article will teach you how to repair your pool floaters by yourself, enabling you to address these small issues more quickly and effectively.

I. Common Problems with Pool Floaters
Air Leakage
One of the most common issues is that floaters begin to lose air through holes or cracks, resulting in a loss of buoyancy.
Physical Damage
During use, floaters may encounter sharp objects that can cause scratches, tears, or punctures.
Material Degradation
Over time, the chemicals in the pool water and exposure to sunlight can make the floaters become brittle, lose their shine, or even disintegrate.
Accessory Damage
Moreover, attachments to the pool floaters, such as inflation valves or ropes, may also get damaged due to improper use.
Insufficient or Uneven Buoyancy
In some cases, due to design flaws or incorrect inflation, a floater may not have enough or evenly distributed buoyancy.
II. Cleaning and Preparing the Repair Area
Firstly, it is necessary to thoroughly clean the floater, especially the area that needs to be repaired. Soap water and a sponge or a soft cloth can be used to gently remove grease, dust, and pool chemicals.
Then, rinse with clean water to ensure that no cleaning agents are left behind. Use a dry cloth or towel to wipe the repair area dry, or let it dry naturally to ensure it is completely dry. If there are burrs or protrusions at the leakage site, lightly sand them down so that they are smoother and closer to the repair materials.
Cutting the Patch and Applying the Repair Glue Cut a patch slightly larger than the area of damage, depending on the extent of the leakage or damage. Generally, the patch should be 1-2 centimeters larger than the damaged area. Apply a specialized repair adhesive evenly on both the patch and the repair area of the floater. Make sure to choose an adhesive that bonds well with PVC or other materials of the floater.
Wait until the patch is slightly dry and tacky before applying it, which is usually specified in the adhesive instructions. Reinforcing the Repair with Waterproof Tape
After applying the patch, a layer of special waterproof tape can be added around the edges of the patch to strengthen the repair and increase durability.
Apply the waterproof tape evenly around the repaired area, ensuring there are no air bubbles or creases. The tape should cover the edges of the patch and add an additional layer of material to the floater.
Ⅲ. Testing and Confirming the Repair Effectiveness
Checking for Leaks After inflating
let the floater sit for a while in a quiet environment to listen for any air leakage, or apply soapy water to the repair area to see if bubbles form, which may indicate a leak. Gently press the repaired area with your hand to feel for any escape of air.
Real Water Testing Small-area soaking
First, use a bucket or small basin to check the repaired area to ensure there is no leakage.
In-pool float test: Place the repaired floater in the pool to determine the floater’s buoyancy and stability.
Load test: Based on the designed load capacity of the floater, try adding an appropriate weight to test the floater, to ensure the repaired floater can meet the general usage requirements.
With the introduction above, you should have learned some DIY tips that can help you easily solve small problems in the pool. Enjoy the cool laughter in the pool to the fullest. In addition, please don’t forget to regularly check and maintain your pool floaters, to keep in good spirits all summer long. Get started now and join us in the world of DIY, to create your own world!
